Learn how to use the Wowza Streaming Cloud™ service to deliver WebRTC streams to viewers through a CDN for playback over HLS.
To learn about other live stream or transcoder settings you might see in the user interface, see Live Stream Setup page in Wowza Streaming Cloud or Transcoder Setup page in Wowza Streaming Cloud.
You'll need to choose which workflow you'll use, live stream or transcoder, before you begin this task. See Decide between a live stream or transcoder workflow for more information about these workflows.
About HLS playback
With Wowza Streaming Cloud, you can ingest a single-bitrate WebRTC source stream, transcode the stream into multiple output renditions, and then deliver the stream to viewers through a CDN for playback over HLS. WebRTC lets you capture video from your browser without installing plug-ins or downloading third-party software.
Note: As an alternative, Wowza Streaming Cloud also provides direct playback URLs for RTMP, RTSP, WebRTC, and WOWZ that you can use to deliver live streams to viewers or other video services directly from the transcoder. For more information, see WebRTC workflows in Wowza Streaming Cloud.
To deliver a WebRTC stream to viewers for playback over HLS, create an adaptive bitrate live stream, give the hosted player page URL to your viewers, and then publish the stream using the WebRTC hosted publish page.
Live stream workflow
1. Create a live stream
In the live stream workflow, we'll automatically configure the transcoder, output renditions, and stream targets to get you started quickly. This is the preferred workflow for most of our customers.
- Sign in to Wowza Streaming Cloud.
- Click the Live Streams menu, and then click Add Live Stream.
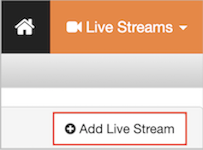
- On the Live Stream Setup page, enter a Live Stream Name, choose a Broadcast Location, and then click Next.
- On the Video Source and Transcoder Settings page, select Web Browser (WebRTC) as the video source you want to use to connect to Wowza Streaming Cloud.

- For Live Stream Type, use the default setting, Adaptive bitrate. Passthrough isn't available for WebRTC in the live stream workflow.
- For Closed Captions, use the default setting, None. Closed Captions aren't available for WebRTC.
- Specify the other video source settings, and then click Next.
Note: For WebRTC, we recommend keeping the default Aspect Ratio of 1280x720.
- Specify the playback settings, and then click Next.
- Customize the hosted page that your viewers can use to watch the live stream, and then click Next. For more information, see Create and manage live streams in Wowza Streaming Cloud.
- Complete the steps to finish creating the live stream.
Wowza Streaming Cloud creates the live stream and displays the Overview tab of the live stream details page.
2. Publish the WebRTC stream
Next, start the live stream in Wowza Streaming Cloud, and then use the WebRTC hosted publish page to begin broadcasting to your viewers.
- In Wowza Streaming Cloud, start the live stream by doing one of the following:
- Click Start Live Stream at the top of the live stream details page.
- Click Start your live stream now in the Video Thumbnail on the Overview tab.
- On the Overview tab, under WebRTC Publish Page, click the publish page link.
Note: The WebRTC hosted publish page is supported on the latest versions of Chrome, Safari, and Microsoft Edge version 79 and later.
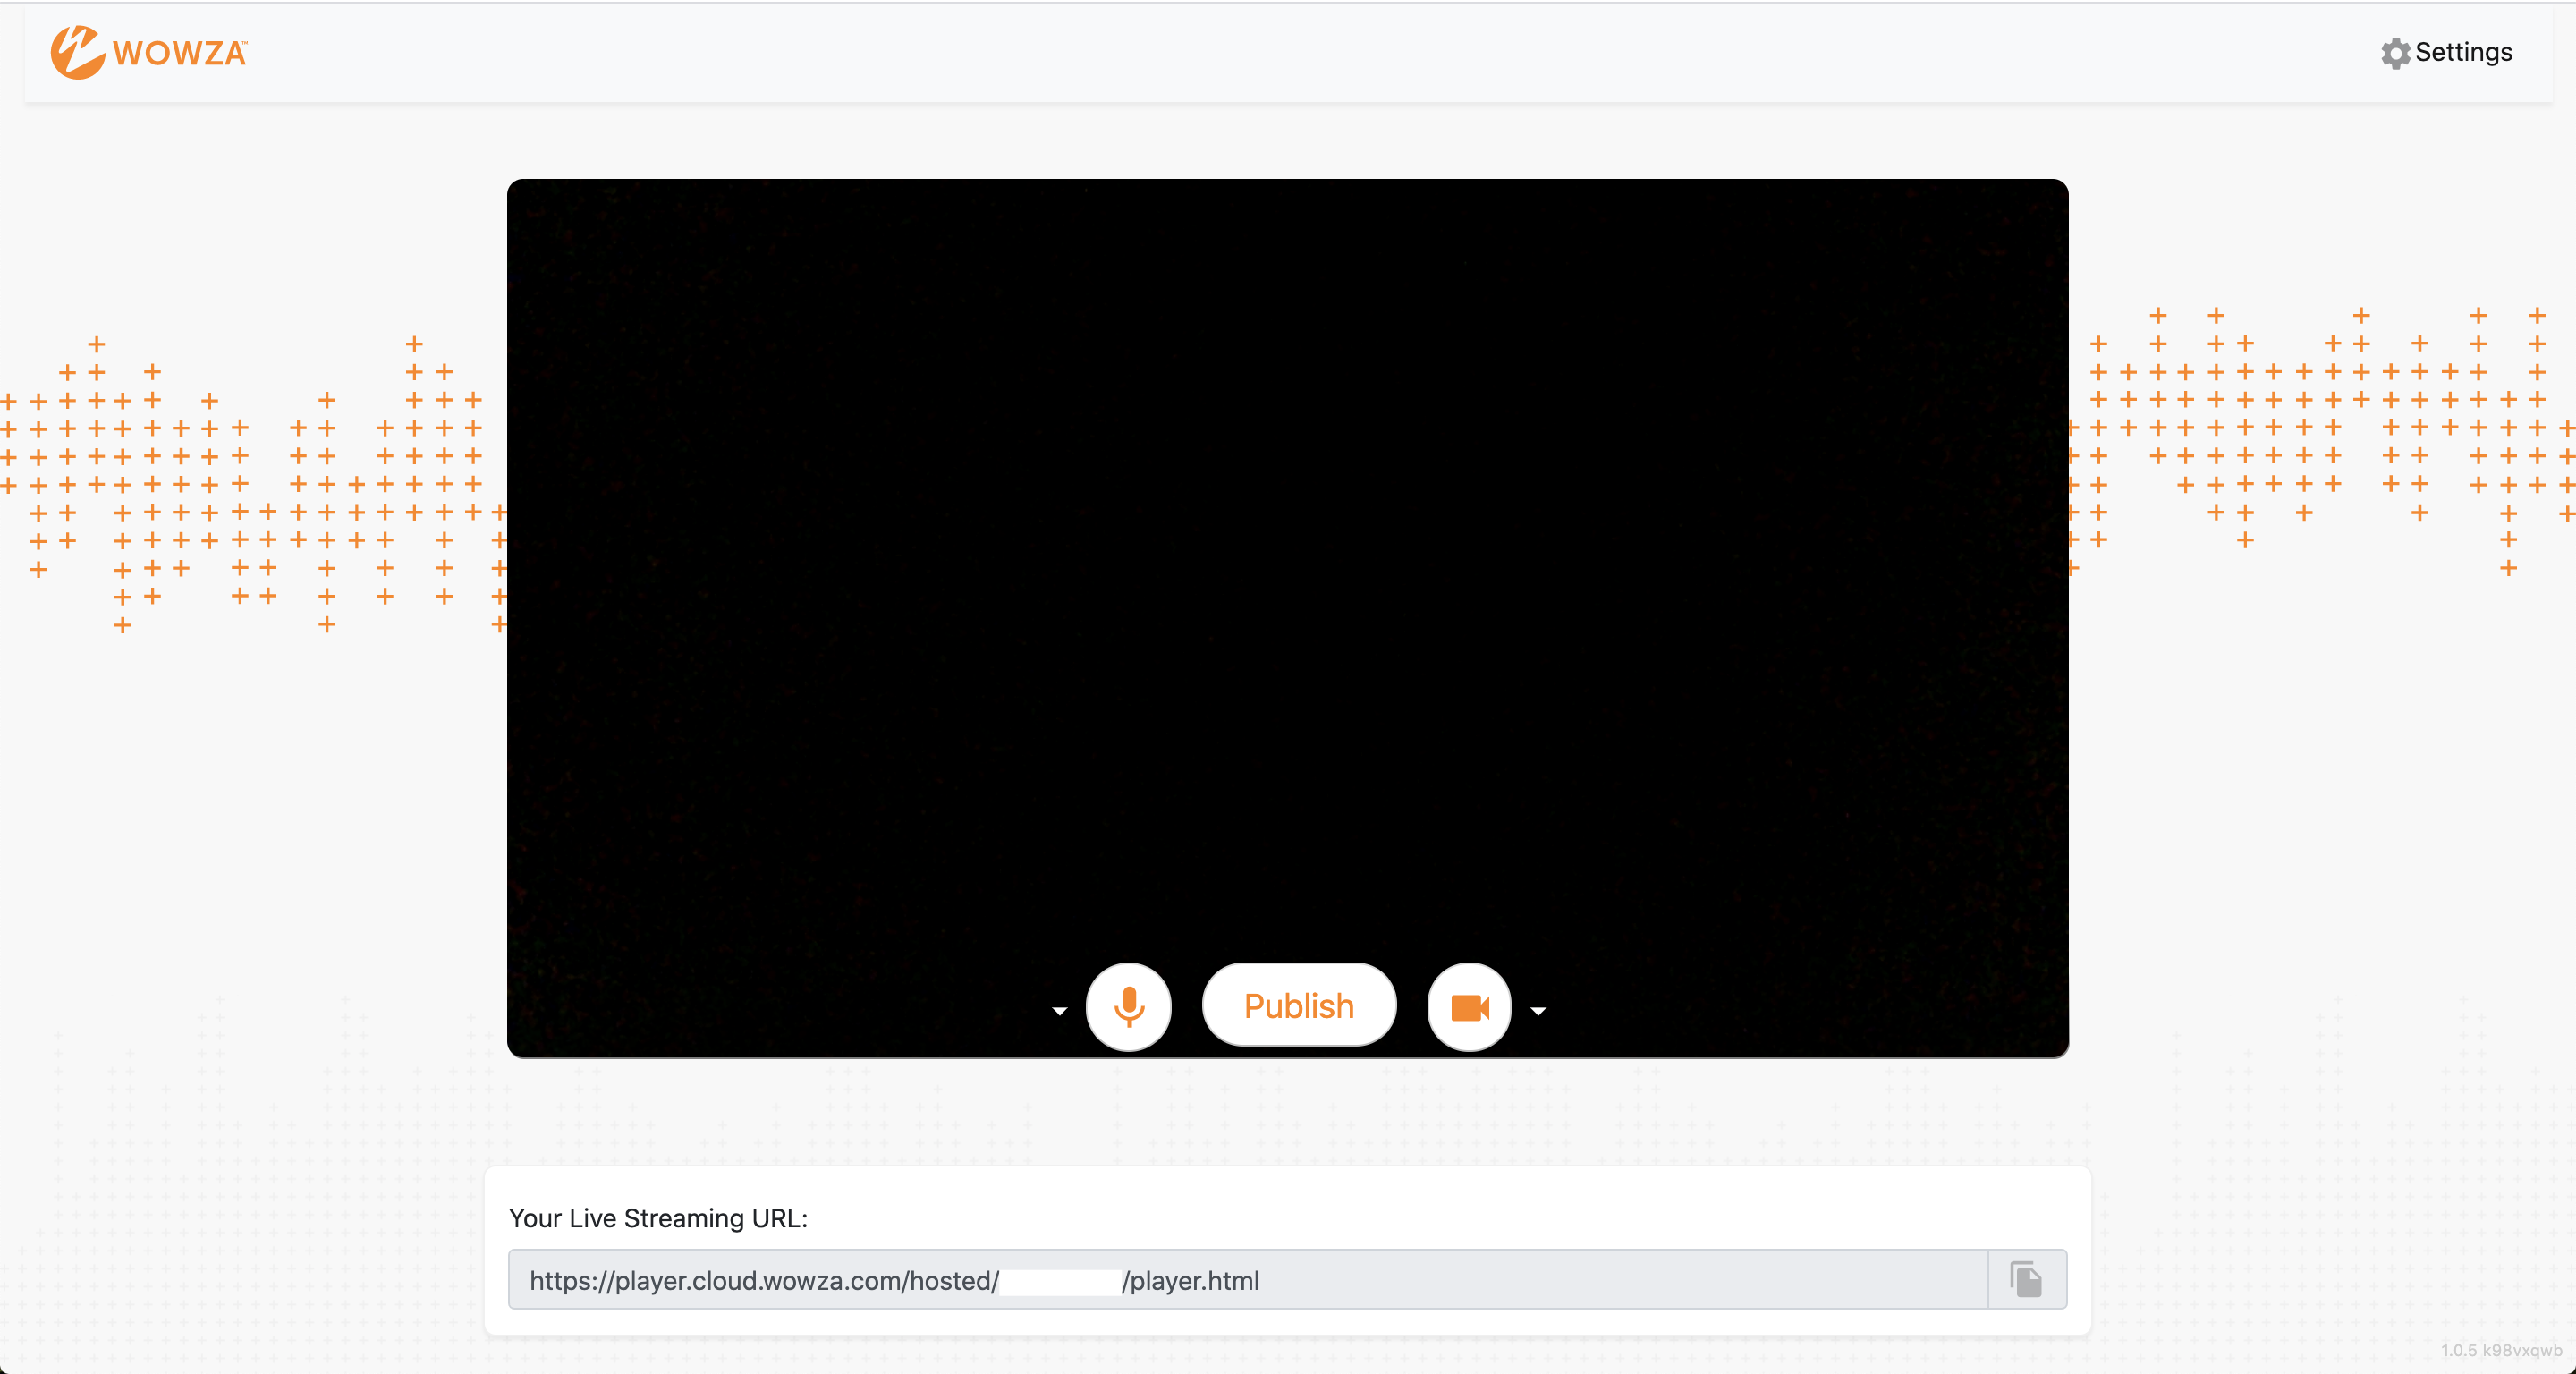
The publish page opens in a new tab. Grant access to your camera and microphone when prompted.
- Settings – Wowza Streaming Cloud automatically configures the settings for the live stream. To view or edit the settings, click the Settings button.
- Microphone – Mute/unmute your microphone. To change which microphone to use, click the arrow next to the microphone icon.
- Video camera – Enable/disable the video source. To change the video source, click the arrow next to the video camera icon. To share your screen, select Screen Share.
Notes:
- The video source can’t be changed after the broadcast is started.
- Screen share functionality isn't supported on mobile devices or Safari.
- Live Streaming URL – The address of the hosted player page, if you created one.
- Click Publish.
3. Play the live stream
You can give the Hosted Page URL to your viewers so they can watch the live stream. This page can also be used for testing purposes. To test the connection using the hosted player, do the following:
- On the Overview tab, under Hosted Page URL, click the hosted page link.
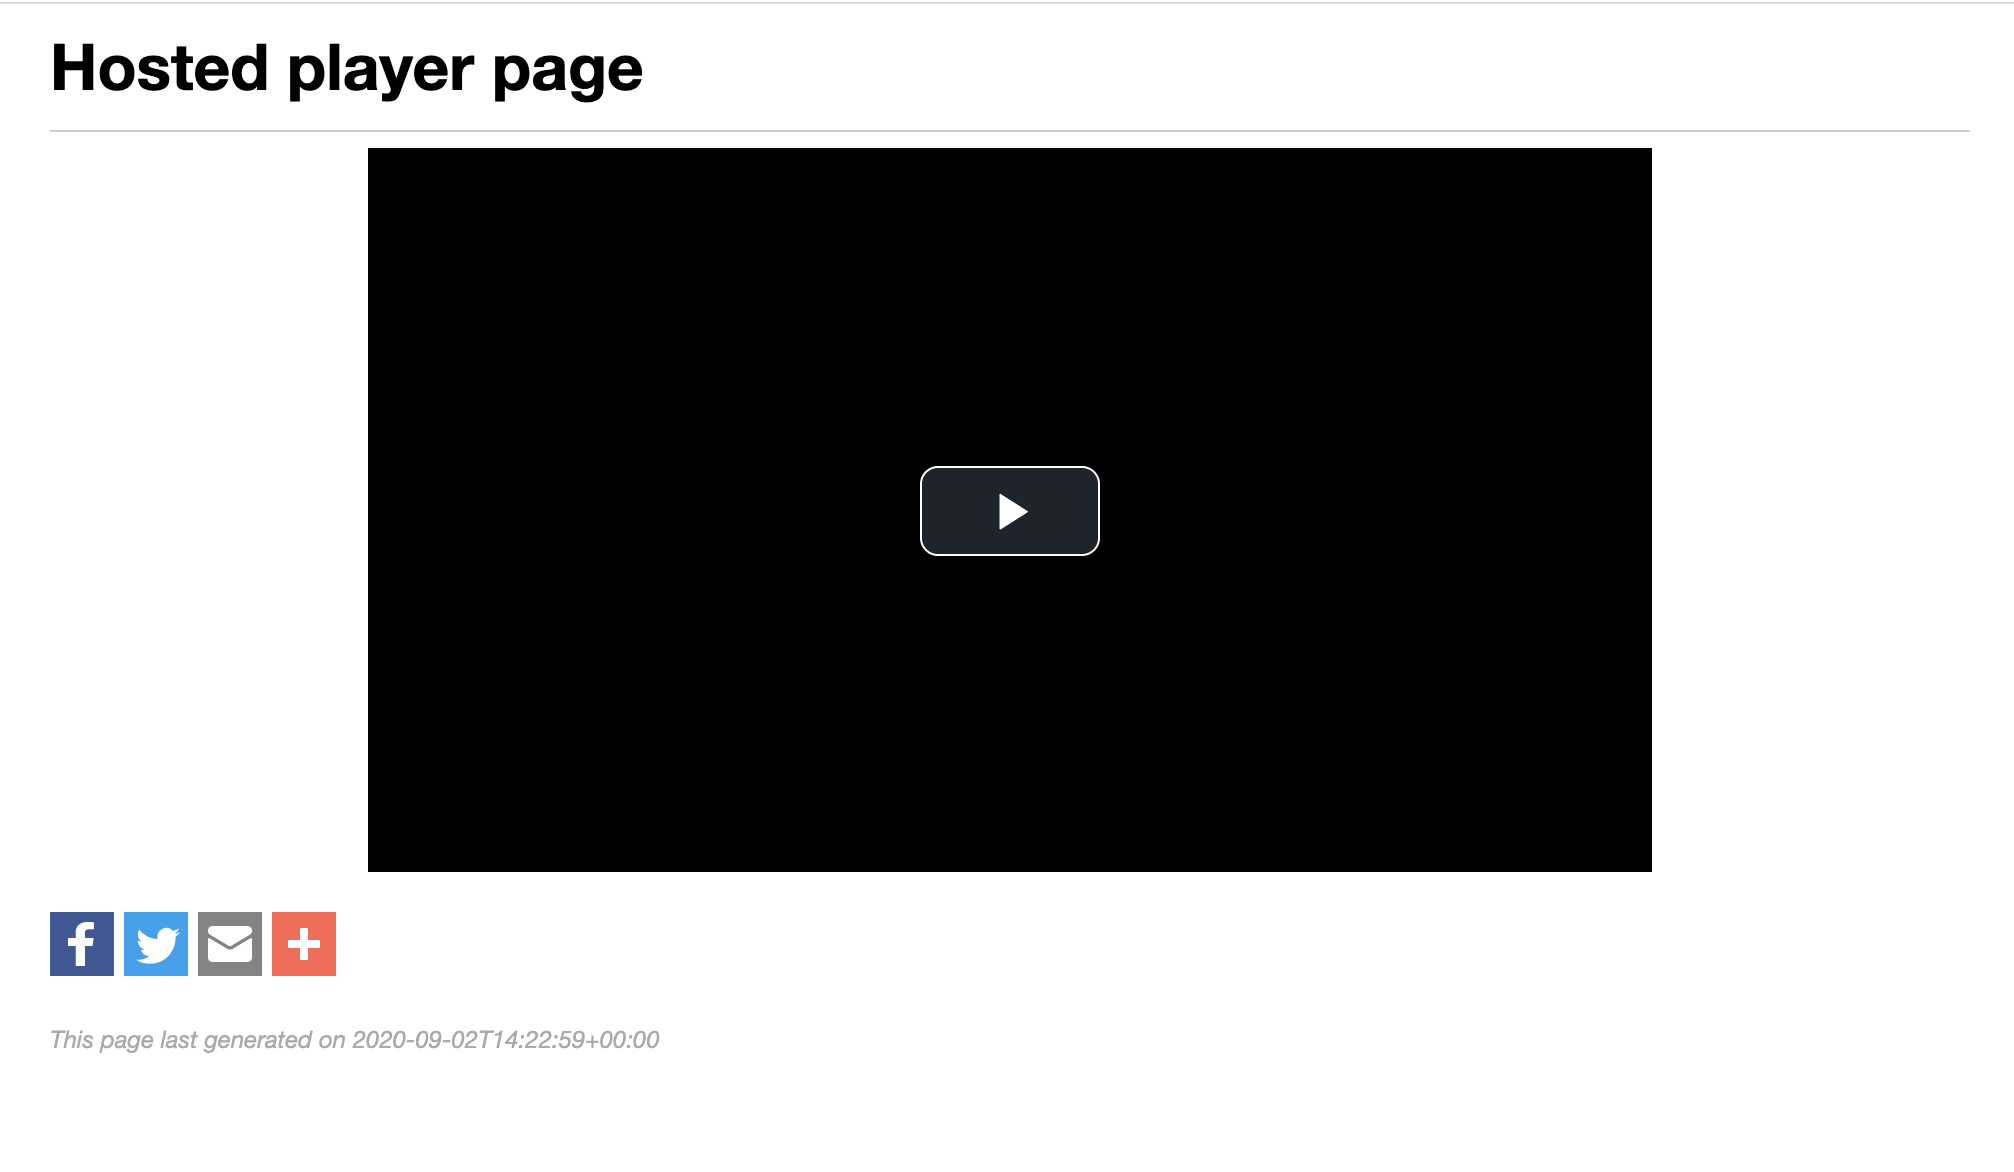
- Click the Play button.
4. Stop the live stream
To avoid incurring additional billing charges, remember to stop the live stream after the stream broadcast is over. In Wowza Streaming Cloud, click Stop Live Stream at the top of the live stream details page.
More resources
- WebRTC workflows in Wowza Streaming Cloud
- Deliver WebRTC streams to viewers using Wowza Streaming Cloud
Transcoder workflow
1. Create a transcoder
In the transcoder workflow, you'll manually configure the transcoder, output renditions, and stream targets to fit your specific streaming solution.
- Sign in to Wowza Streaming Cloud.
- Click Advanced on the menu bar, click Transcoders, and then click Add Transcoder.
![]()
- On the Transcoder Setup page, enter a descriptive Transcoder Name.
- For Transcoder Type, select Adaptive bitrate. Alternatively, select Passthrough to send the source video directly to a target without performing transcoding.
Note: To include audio in recordings and VOD streams, the Transcoder Type must be set to Adaptive bitrate.
- Select a Broadcast Location that's as close as possible to where your stream will originate.
- For Closed Captions, use the default setting, None. Closed Captions aren't available for WebRTC.
- For Source Protocol, select WebRTC.
- Specify the other transcoder settings.
- Click Add.
Wowza Streaming Cloud creates the transcoder and displays the Outputs & Targets tab of the transcoder details page. An output for WebRTC playback is created automatically, but you'll create additional output renditions in the next step to use for HLS playback. - Complete the transcoder by adding output renditions and stream targets. Make note of the HLS playback URL on the Playback URLs tab of the stream target's details page. You'll can use the URL for testing playback in the next step.
For more information, see Create a custom transcoder with many outputs and targets in Wowza Streaming Cloud.
2. Test the connection
- In Wowza Streaming Cloud, start the transcoder by doing one of the following:
- Click Start Transcoder at the top of the transcoder details page.
- Click Start your transcoder now in the Video Thumbnail on the Overview tab.
- On the Overview tab, under WebRTC, click the Publish Page link.
Note: The WebRTC hosted publish page is supported on the latest versions of Chrome, Safari, and Microsoft Edge version 79 and later.
The publish page opens in a new tab. Grant access to your camera and microphone when prompted.
- Settings – Wowza Streaming Cloud automatically configures the settings for the live stream. To view or edit the settings, click the Settings button.
- Microphone – Mute/unmute your microphone. To change which microphone to use, click the arrow next to the microphone icon.
- Video camera – Enable/disable the video source. To change the video source, click the arrow next to the video camera icon. To share your screen, select Screen Share.
Notes:
- The video source can’t be changed after the broadcast is started.
- Screen share functionality isn't supported on mobile devices or Safari.
- Click Publish.
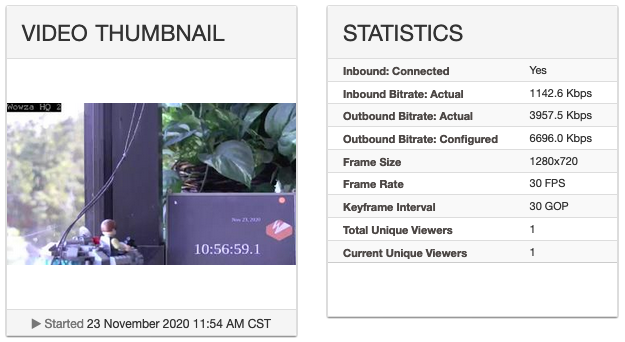
- In Wowza Streaming Cloud, confirm that the stream is working by looking at the Video Thumbnail on the Overview tab of the transcoder details page.
The Video Thumbnail displays a frame from the stream every five seconds. The started date and time appear at the bottom of the thumbnail. Connection, transcoding, and delivery metrics begin to update in the Statistics panel.
Alternatively, you can use the HLS playback URL to configure the stream for playback in an HLS-compatible player. The URL is located on the Playback URLs tab of the stream target's details page.
- Click Stop Transcoder at the top of the transcoder details page to end your test stream.
Note: Billing charges are incurred while the transcoder is running.